Weaving In
Usually, when I talk about “weaving in,” I’m at the finishing stage of a knitting project. The actual knitting is done, and I’m dealing with all the loose ends from the cast on and binding off and any other beginnings and endings of yarn that have happened throughout the piece.
This week was all about starting my Beast to Blanket students at the beginning of their journey into loom weaving, and WOW! did they take off!

So Many Types Of Loom Weaving
I started by showing the students three samples to demonstrate a few of the various ways people have used looms to make fabric. The first is a very traditional piece of fabric made with recognizable up and down threads (warp) and back and forth threads (weft) at a 90-degree angle. The center of the weft is multicolored, with white yarn at the top and bottom. It looks like the kind of placemat you could buy at a home decorating store.
The students and I talked about that piece as a sample of typical fabric that can be used as any fabric might be used, to be cut and sewn for clothing or some other object. We looked at the color changes and talked about how tartans are created by manipulating the color placement in both the warp and the weft.

Next, we talked about representational tapestry weaving. I demonstrated this by showing a photograph of one of my favorite places in my home state of Kansas, the Flint Hills, and then showing my attempt at replicating the broad strokes of that photograph on a tiny handmade loom with colored yarn.

Finally, we talked about abstract tapestry weaving as fine art, and the happy trend of hanging it to enhance living and working spaces. I showed an abstract weaving I’ve done that emphasizes texture and movement but doesn’t represent anything concrete at all.
I also showed students my tapestry loom, the handmade mat board looms I used to make the Flint Hills tapestry and the abstract weaving, and a large empty picture frame that I use to describe how a loom can be constructed from four pieces of wood. We transitioned from there to making looms from mat board.

Making the Loom
Using a marker or pencil, make marks along opposite sides of a firm piece of cardboard, chip board, or mat board. I like using mat board with my students, especially colored mat board, as it gives students the choice of using the colored or the white side as the background for their weaving project. The marks do not need to be perfectly evenly spaced but aim for about 1/3 to 1/4 inch apart. It is more important to have the same number of marks on each side of the board.
Cut a small slit at every marker, perpendicular to the edge of the board, at least 1/4 inch long. Younger students may need to be guided to use the deepest part of the scissors rather than the tips on firmer mat or cardboard.

Warping the Loom
Tape the end of a skein of yarn to the side of the board chosen to be the back.
Guide the yarn through the first slit on the nearest edge.
Run the yarn over the front of the board to the opposite side and guide the yarn through the corresponding slit.
Run the yarn over the back of the board and guide the yarn into the next available slit.
Continue in this manner until all the slits are full. There should be no empty slits remaining.
Cut the yarn and tape the end to the back of the loom, as near as you can get to where the first end was taped. Try to make all warp threads snug. None should sag or be obviously loose.

Get Weaving!
Did you know in the UK, the phrase “get weaving” is similar to “get moving” and “put some hustle in it?” As in, “Get weaving, you’ve already wasted the morning!” I didn’t until this week!
Once your loom is warped, you’re ready to get weaving, on either side of the pond.
Cut a length of yarn and thread it through a tapestry needle.
Moving from one side of the warped threads to the other, pass the needle over, under, over, under, etc. the warp threads.
Once you have reached the last warp thread, gently pull the yarn until about 3 inches of yarn is hanging from the side where you started.
Begin weaving back the way you came, working above the yarn you’ve just woven. If you went under the warp thread on the first pass, go over it on the second. If you went over the warp thread on the first pass, you’ll go under it on the second. You’re still working in an over, under, over pattern, just doing exactly opposite whatever you did in the previous row.
When you get to the end of your second row, pull the yarn gently. Ideally, the yarn will wrap gently around the end warp thread, making a nice, even selvedge. If you pull the second (and subsequent) rows too tightly when you complete them, the selvedges (self-edges) will be pulled to the center of the weaving and the piece will have inwardly curved edges rather than straight ones. If you don’t pull them tightly enough, the selvedges will be loose and perhaps have loops on the edge that can catch and eventually make your piece become distorted. Perfect selvedges take practice, and master weavers have techniques they use in combination with their vast experience with different materials to keep their selvedges straight and beautiful.
When you run out of yarn on your tapestry needle or wish to change to different yarn, leave about three inches to hang from the side or behind the woven fabric. Thread the new yarn onto the tapestry needle and begin weaving again, continuing the over/under pattern already established.
You can experiment with that pattern, with materials, with where you start and stop working in the piece, and many other areas. Weaving provides many opportunities for personalization, experimentation, and expression, and I encourage you to explore what fascinates you!

One of my students, a 4th grader, sent this picture the day after class. He kindly gave permission to share it with you. I know he finished at least one more weaving this week from a second loom he made at home after class.
I invited the students to use other materials in their weavings if they chose, and brought in some ribbons and other interesting trims for them to try if they wanted. I think this would be a good use for scraps of once-favorite disintegrating t-shirts or maybe sports ribbons from years gone by. An athlete could make a meaningful project with bits from awards, t-shirts, athletic shoe laces or maybe parts of equipment, rolled athletic tape, netting, etc. A musician could incorporate sheet music, strips of fabric similar to the lining of an instrument case or from outgrown concert dress. Again, there’s so much room for creative expression in these projects!

Nearing the End
While this was only Week Five of the Beast to Blanket class, we are coming near the end of the steps toward the blanket! This coming week we’re going to be looking at weaving with a peg loom, and transitioning from that to finger knitting. The next week we start learning to knit, and from that point on, we’re working on knitting and making squares for the blanket. Greg offered to knit the sample square for my class and he made a perfect one. He’s going to have to tackle the purl stitch and graduate from beginner status, don’t you think?

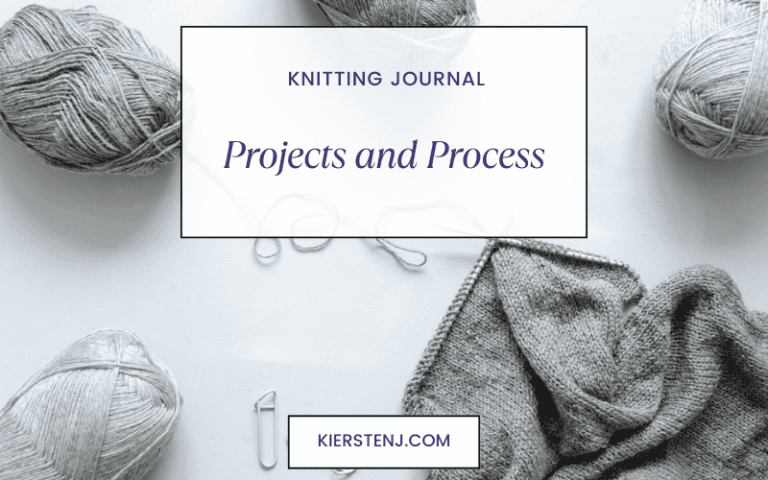
What Am I Knitting?
I am almost done with Greg’s Musselburgh Hat. I just have the decreases to do on the inner layer and then he’ll have his first handknit hat to add to his cozy hat collection. I already know I want to do another in a heavier weight. It’s a great pattern.
I asked Greg to try this one (made in fingering weight) to check the fit, and of course he took a picture. I think he’ll mostly wear it with the brown side out and the slightly softer dark multicolored side in. But one nice thing about this hat is that if you choose to use two or more colors, you have options!
What are you working on today?
Happy knitting!
Kiersten J